Mod Management
Nexus Mods created a new Collections feature whilst I wrote this guide. They're updatable mod lists allowing you to easily install pre-grouped mods via Vortex. It greatly simplifies the mod installation process. I’ve made a Collection for each major section, so you can simply click on the link for them then ‘Add to Vortex’ to automatically install all the mods I mention. The Collection download link will be at the very top of each section of this guide. This guide explains how to install Colllections.
Read the full guide as you install each Collection as I outline what the mods do and make setting recommendations for some mods. Some essential mods must be also installed manually. This guide also provides the individual mod links for manual installation or to use another mod manager.
Please note that upon installing my Collections, you may receive a warning about my game version being different to yours. You can ignore this because running BSA Decompressor in the Utilities section makes your game version change from Vortex's perspective.
If a mod name is colored yellow it means that mod it may not be suited for everyone's tastes. It's optional.
If a mod is colored red it means that the mod may be performance intensive on lower-end systems. It can be disabled if you're concerned about that.
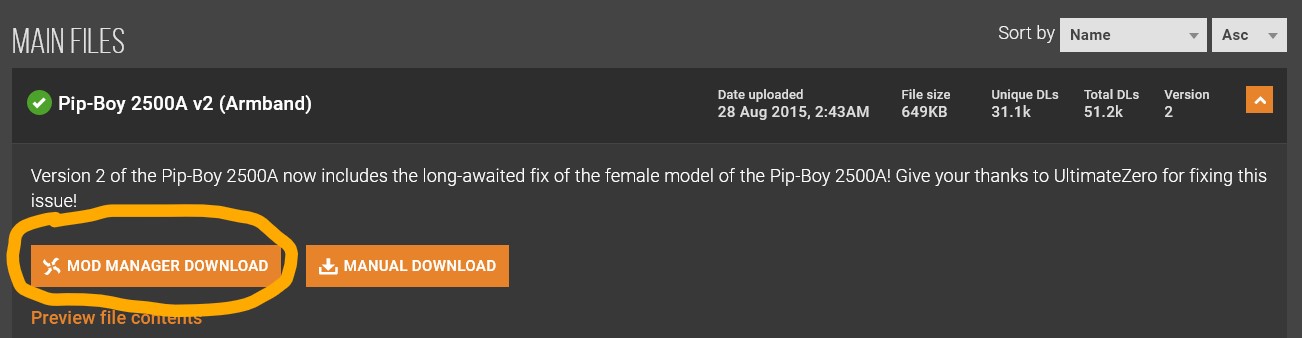
Visiting mod pages on the Nexus Mods site, going to the ‘Files’ tab then clicking on ‘Mod Manager download’ under each file entry in the Main File(s) will download them through Vortex.
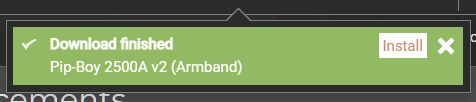
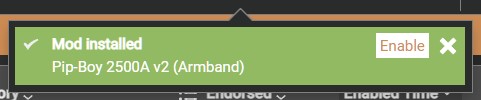
Keep an eye on the top right hand corner of Vortex for the download completion, then click ‘Install’ and ‘Enable’ when those buttons appear.
Alternatively downloaded mods are accessible via the ‘Mods’ button on the left hand pane of Vortex once they're finished downloading.
You can manually install mods by downloading the zip, dragging and dropping it into Vortex, then installing and enabling it like a mod you just downloaded. Alternatively you can click the + icon in the top left corner to add the mod via the file explorer.
These Collections are designed to work standalone so you can pick and choose them to your personal preference. I personally play with all of them installed (the Collections mirror my personal mod setup as does this entire guide).
If you’ve never played New Vegas before, I recommend only installing Collections 1-4 for your first playthrough. They provide a more polished vanilla New Vegas experience plus restore cut content without dramatically changing the original gameplay design. You could then install 7-8 on top of that for remastered visuals. Please note Collection 7’s lighting will dramatically change the atmosphere of the game (for the better IMO but its noticeably different from NV’s original style). If you install Collection 8a and/or 9, following the steps in the LOD Guide to generate new LOD files is strongly advised otherwise you're pretty much guaranteed to see distant visual bugs.
The previous page discussed Vortex Profiles for managing the mods you elect to install alongside relevant settings. I recommend you have the following 4 Vortex Profiles containing these Collection combinations to switch between them as you wish:
- Vanilla (Default renamed) - the untouched original game.
- Rebuilt: Core - Gopher's Stable New Vegas + UI alongside Collections 1-4 + 7. Use this one first if you've never played New Vegas before. This combination of Collections will fix bugs, optimise performance, upres the UI, restore missing content and smoothen the gameplay as originally designed without dramatically changing it.
- Rebuilt: Enhanced - Gopher's Stable New Vegas + UI alongside Collections 1-7, 9 and 10a. Gameplay, lighting, NPC and location overhauls including Functional Post Game Ending skipping graphics for performance concerns.
- Rebuilt: Full: Everything in this guide. Please note the Graphics collections are likely to impact performance. Don't forget to generate your LOD files as outlined in the LOD Guide.
Sometimes mods modify the exact same files, Vortex will warn you when they do with a ‘There are unresolved file conflicts’ warning in the corner.
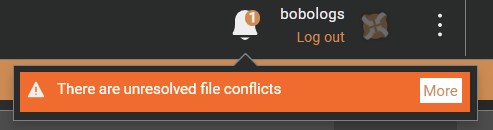
Clicking ‘more’ will display the Mod Rules box asking which of the conflicting mods should be loaded first, often suggesting the order with a ‘(suggested)’ marker. The more important mod should be installed after so it overrides the conflicting mod. For example, if a UI mod clashes with YUP you’ll want to have the UI mod installed after to make sure the UI changes override YUP.

In the example above, a new Pipboy replacement mod overrides all files it conflicts with so it correctly replaces the Pipboy.
The Vortex suggestion is generally accurate, but there’s a few cases where I'll make specific suggestions. More recent mods are generally better.
As you install more mods, mod cycles will appear. Vortex generates mod installation order rules which can trigger loops as your mod list get complex. Vortex will say ‘There are mod cycles’ when this happens and not let you deploy until this has been resolved. A pop-up window will appear showing the mods as nodes with arrowed lines signalling the file conflict install direction leading to circular install loops.
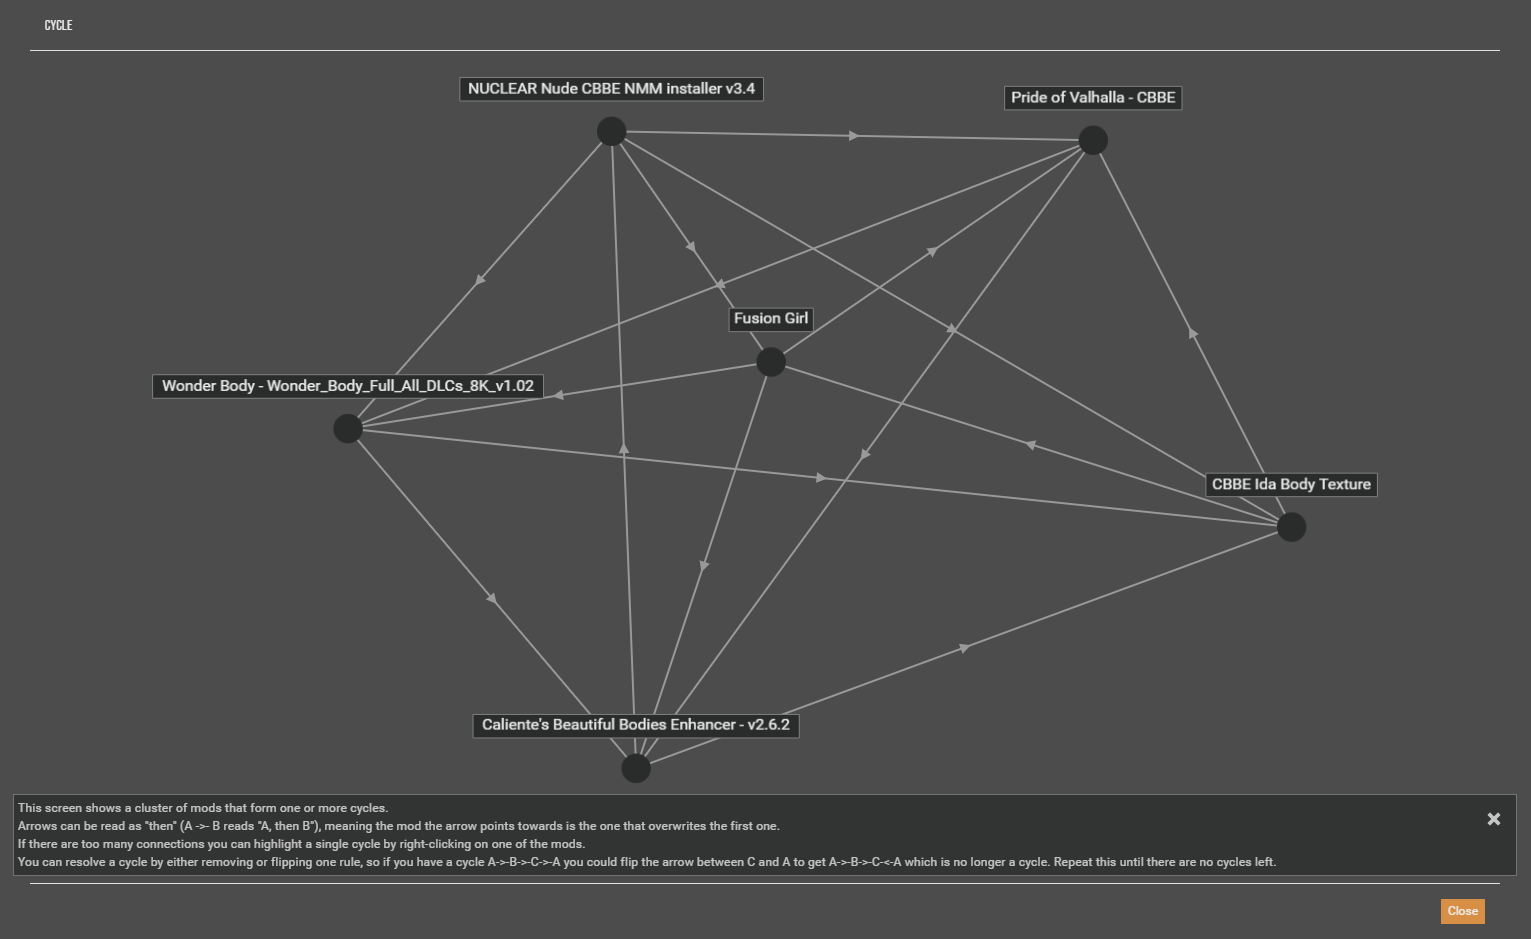
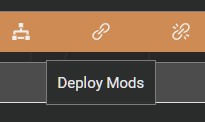
Right clicking on a node and then clicking ‘Highlight Cycle’ will highlight that mod’s particular loop. You should fix mod cycles gradually, mod by mod, by right clicking on an individual line within the cycle->’Flip Rule’ to change the mod installation order. Fix mod cycles by priority. For instance, you can confidently let textures from texture packs overwrite YUP textures. Repeat this until the window closes, then press the ‘Deploy Mods’ button at the top.
One shortcut is to right click on the mod you consider the most obviously essential within a particular cycle, then click ‘Load Last Among Connected’ to make it override all the others. Be aware ‘Load Last Among Connected’ is a bit of a brute-force solution that may break things. Use at your own discretion.
You can manage specific file conflicts per mod by right clicking the mod→’Manage File Conflicts’. You can click the family tree-like icon labelled 'Manage Rules’ at the top (seen in the screenshot above to the left of 'Deploy Mods') to adjust your overall mod file conflict rules at any time.
Before installing any Collections or individual section of this guide, start a new game with zero mods whilst in the Vanilla profile, saving in Doc Mitchell’s house immediately after using the Vigor Tester (stat creation) before you go outside. Switch to the Vortex profile you plan to use, add your mods, then load that vanilla save up after each batch of mods you install manually or via the Collections to test if everything works as expected. Saving there lets you test interior loading, exterior loading when you exit the house, NPC interaction (Doc Mitchell) and combat (the NPCs immediately outside) quickly. This should cover all aspects of New Vegas that this mod guide may impact. It would be good practise to load up this save and test New Vegas after installing each individual Collection.
Please be aware that New Vegas may still crash unpredictably even with bug fixes and performance optimisations installed. Autosaving is also known to cause problems. Turn off autosaves in Settings and manually save regularly to avoid crashes causing save corruption.
Merging plugins can break mods and should be a last resort. You should return to this section only when required.
Some mods require .esp plugins. Vortex won’t let you launch New Vegas if you hit 255 due to it typically breaking the game engine. You can overcome this by using mod tools to merge your plugins and slim down that number. GamerPoets outlines plugin merging for Skyrim below. Follow and use the exact same steps, just choose New Vegas instead of Skyrim.
You should merge as little as possible to avoid breaking mods. You should merge plugins in similar categories with no overlapping content like plugins that are there for compatibility with the same mod. Plugins with little customisation options or no Mod Configuration Manager menu are a good indicator that merging should work, but even that is not guaranteed to support merges. For instance I tried to merge Trigger Happy alongside several other mods related to first person combat mechanics, but it made Trigger Happy not work at all whilst Walking Interia - another mod with zero MCM menu or GUI-based customisation options - worked fine. Merging is a buggy, painful, trial-and-error process, so it should be avoided as much as possible. Disabling DLC mods until you’re about to play them is a good way to avoid plugin merging.
If you hit the 255 plugin limit, start by recreating my suggested mergers listed below when they apply to the Collections you've chosen to install.
Here are my successful (working) merged plugins. All these mods appear later in the guide, so don’t worry if this list doesn’t make sense to you yet. I’m just mentioning my later findings at this earlier stage of the guide if you encounter the 255 limit issue whilst you set up. Notice how none of these merges include the mods they're patching as the plugins will be looking for the .esp plugins they patch. Merging the .esp plugins that they patch alongside them would break this as they suddenly wouldn't be able to see the .esp they're trying to patch. If you add any additional plugins to your mergers via zMerge, you should right click on the Mod in Vortex→Refresh Content so the changes are updated, then accept any changes (Use Newer Files and delete old ones).
Merging Too Many Quest Markers and Brave New World patches broke both mods, so don't merge those.
FNV Weapons Rebalanced Patches.esp (for Fallout New Vegas Weapons Rebalanced)
- FNVWR Nerf
- FNVWR Unofficial Patch Plus NVSE Patch
- FNVWR WMIM Patch
IQO Patches.esp (for Improved Quest Objectives)
- IQO [AMF]
- IQO [LQE]
- IQO [TLD]
- IQO [YUP]
Mechanics Merge.esp
Pointlight Flashlight and 3rd Person Camera Improvements will break if you try merging them.
- Walking Inertia
- Laser Weapon Iron Sights
- 360 Movement
- Diagonal Movement
- 360 Movement - Diagonal Movement Patch
- B42 Inertia
- Cateye Effects
- B42 True Leaning
- Immersive Four Eye Visuals
- No Repair in Combat
- Plasma Weapon Iron Sights
- Ragdolls BLEEDLESSNV Patch
- Ragdolls YUP Patch
- Weapon Blur Effects
NVR2R Patches.esp (for New Vegas Revised 2 Redesigned)
- NVR2 - YUP Patch
- NVR2 - BMW Patch
- NVR2 - Mojave Raiders Patch
- NVR2 - UW NPCs Patch
- NVR2 - JSUE Patch
- FaceGen Tint Fix for NVR2R
Radios Merged.esp (Radio Station mods only)
- Mysterious Radio Extended
- Mojave Extended
- Existence 2.0
- CDCustomRadio (Radio Indigo)
- Cowboy Radio - Now With Custom VA
- Platinum Radio
- Radio Sinatra
- Conelrad 640-1240
SFX Merge.esp (Sounds)
- Footsteps Volume Fixes
- Project Reality Footsteps
- Immersive Pickup Sounds Patched
- Power Armor Movement Sounds (PAMS) Light
- AWSOME Sounds Overhaul
- Aim Down Sounds - Backpack - Jump Impact Effects
SLRF Patches.esp (for Strip Lights Region Fix)
- Strip Lights Region Fix - Legion Quests Expanded
- Strip Lights Region Fix - Distant Water Jets
- Strip Lights Region Fix - Uncut Wasteland
- Strip Lights Region Fix - The Living Desert Patch
- Strip Lights Region Fix - Vault 22 Flora Overhaul Remastered
Merged Plugin Load Order
Finally, you should ensure your merged plugins are loaded in the right order. Clicking the + icon on the left hand side will show the Vortex ‘Plugins’ page which uses LOOT to automatically optimise the order your mod plugins will be loaded in. Check the ‘Load order’ number next to the plugins you merged, then make sure your merged plugin is loaded in a similar position. i.e. my Strip Lights Region Fix Patches merged plugin loads immediately after Strip Lights Region Fix. Strip Lights Legion Fix is placed near the bottom of my load order since it has patches for many other mods at vastly different order positiions.